Filter The Water You Are Going To Drink
Everyone is concerned about the quality of the water they drink — would there be the huge industry for bottled water otherwise? But when at home too many rely either on tap water (the worst thing to do) or try and mitigate this with a water filter in a countertop device or inside a refrigerator.
Ford Everest vs. Suzuki Every: An Unlikely But Worthy MatchupFord Everest vs. Suzuki Every: An Unlikely But Worthy Matchup
Watch More
But the biggest thing going on is about fooling oneself that there doesn’t need to be a better filtration system working at home. A better filtration system that works similarity to what a city does on a massive scale. That system is all about reverse osmosis — water purification to remove dissolved/suspended chemical and biological substances that is coming through the water pipes.
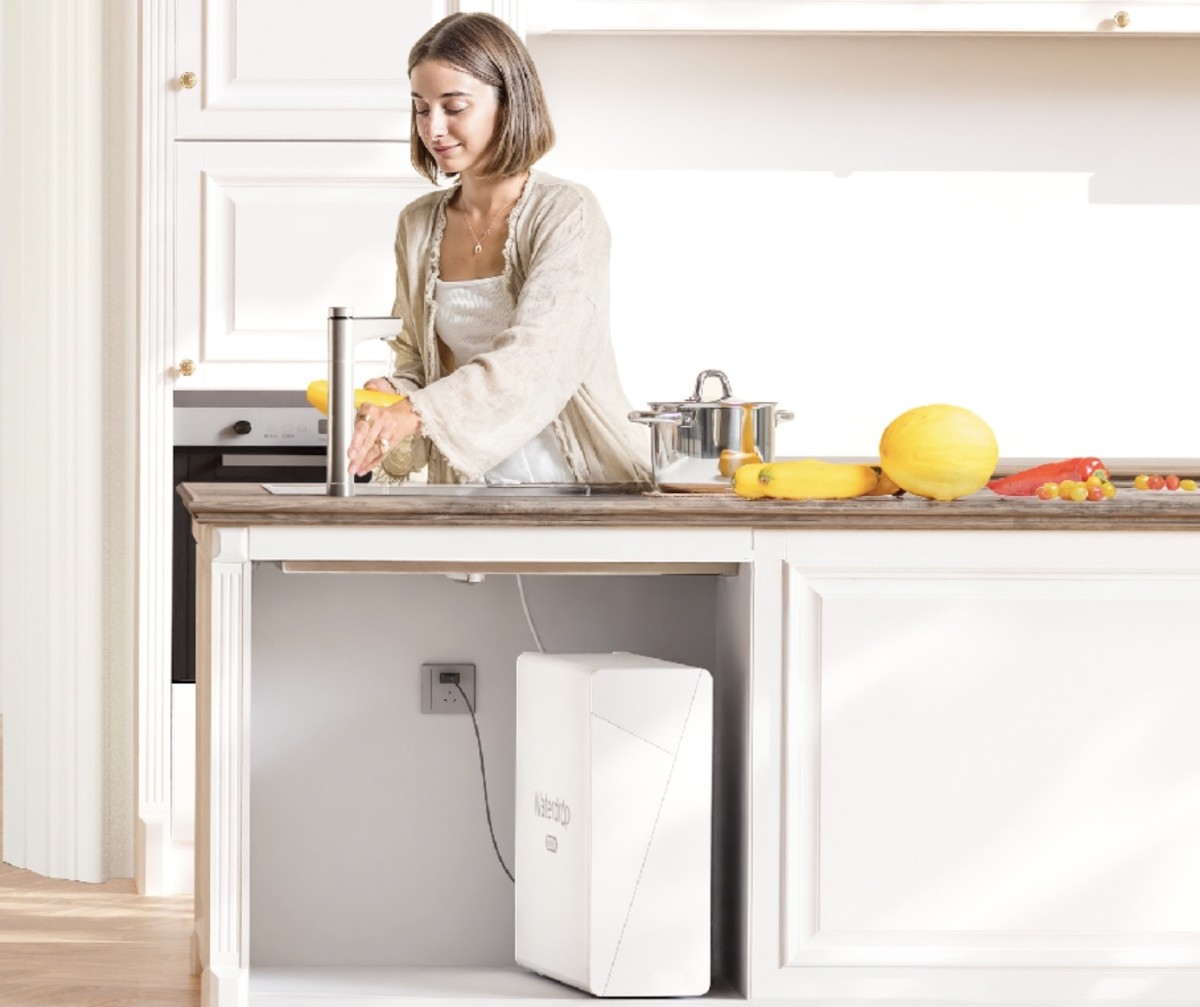
Getting the water really “cleaned up” could make a huge difference in one’s health (a high level of total dissolved solids [TDS] can be problematic, along with heavy metals and arsenic salt among others). Best of all, just making it happen by pressing a button on a faucet can do the trick. Which is where Waterdrop’s X16 Reverse Osmosis Water Filtration System comes in.
Setting Up
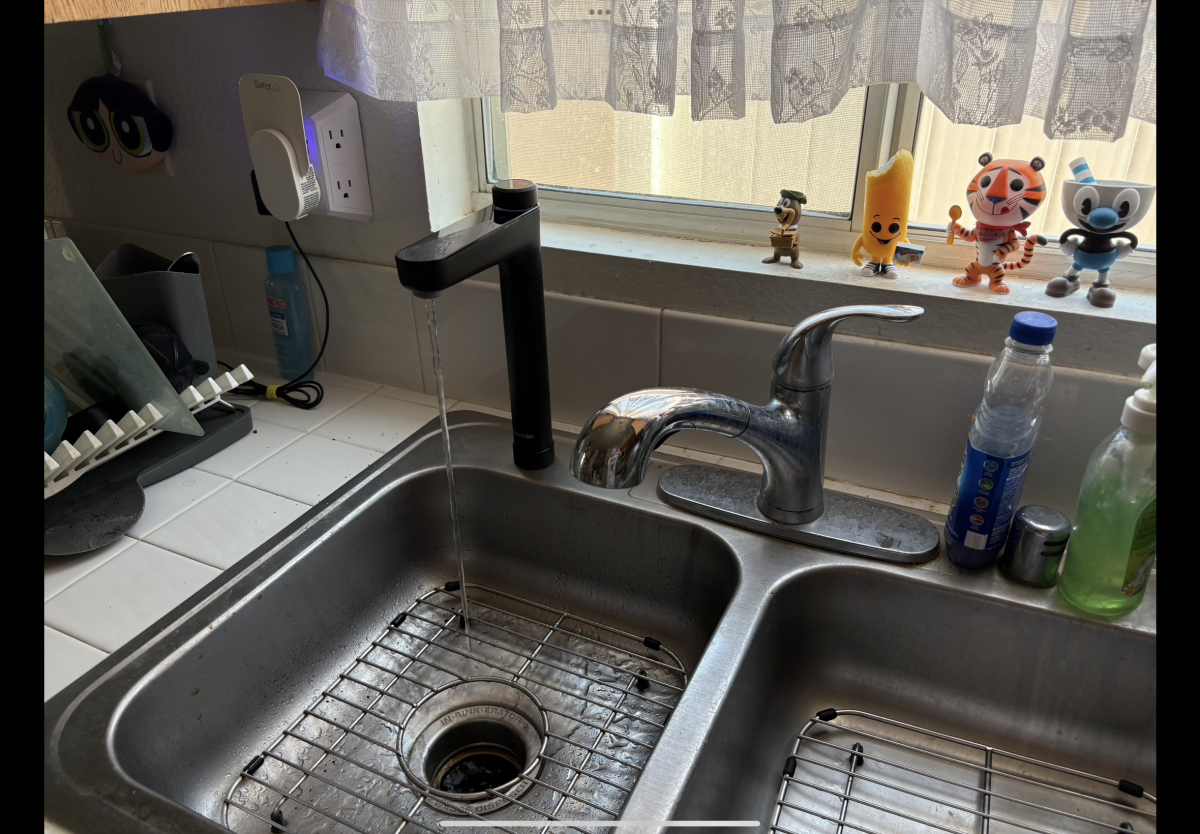
The Waterdrop’s X16 Reverse Osmosis Water Filtration System is a fully contained system that goes inside the cabinet under the sink and integrates with your cold water supply. Unlike countertop models, it automatically flushes the residue water created by the reverse osmosis process.
While everything needed comes in the box, there is some preparation to do. Specially three things: the first being to make sure that there is enough room under the sink for the X16, that being done by taking its measurements (16.72 x 18.2 x 6.25”) and seeing whether it can go under the sink either facing forward vertically (so as to have easy access to the filters compartment) or horizontally; to make sure that there is an electrical outlet for attaching the X16’s power plug to [in most cases there will be a double electrical outlet, with one plug attached to a switch controlled garbage disposal and the other to a dishwasher — necessitating attaching a multi-tap to it — which is what we did]; that there is an access hole on the top of the sink (as that is needed for placing the Smart Faucet). Otherwise drilling such a hole in it or the countertop will be needed.
Also the system does not stop cold water from coming out of the existing faucet,
Getting Ready
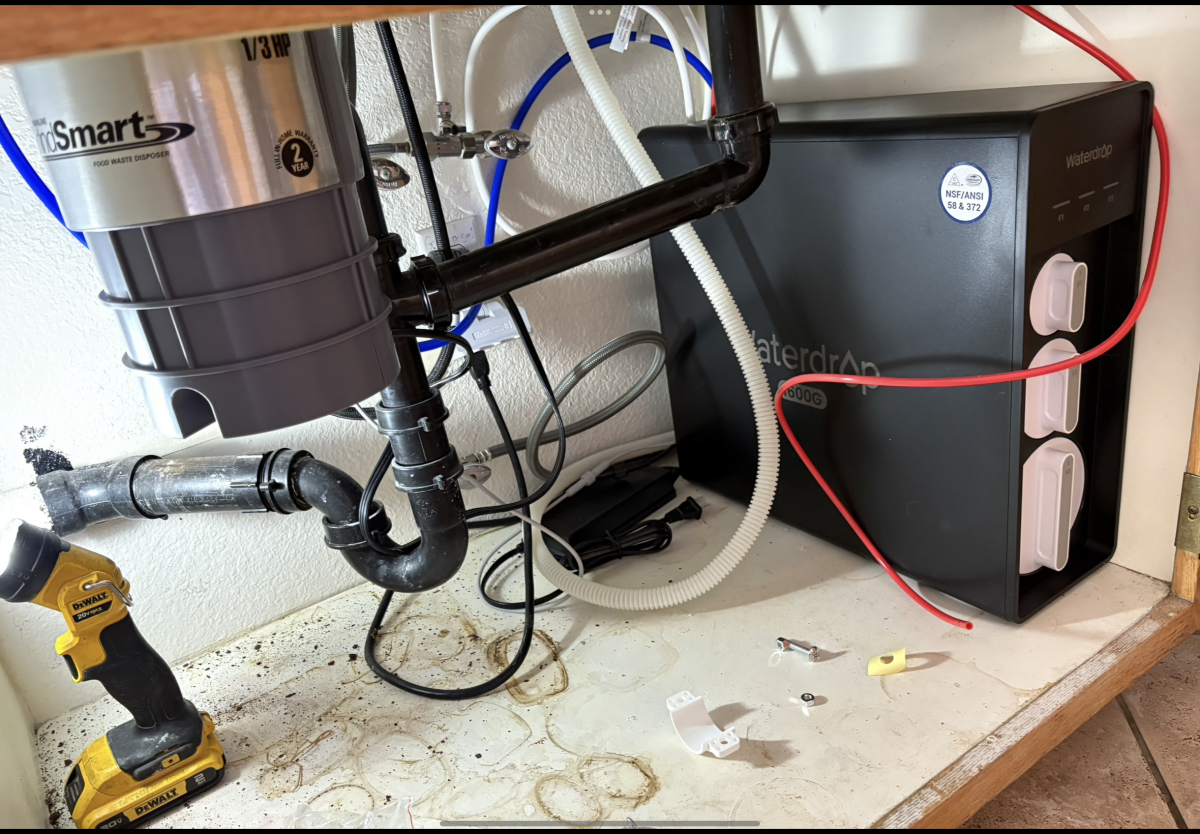
A drill with a 1/4” bit, scissors/utility knife, wrench, pliers and a screwdriver are needed. Also a flashlight. With this at hand, the first step is to place the X16 under the sink (ours was at the extreme right) — measuring it beforehand showed we could place it so that the filter panel faced front. This let us see the filter indicators for the usage (life) of the three filters — these consist of the activated carbon filter (life of up to 12 months), the pre-sediment and carbon block filter (life of up to 6 months) and the reverse osmosis membrane filter (life of up to 24 months). The filters are behind a panel and each can easily be removed/replaced by gripping firmly and rotating counter-clockwise (faucet must be off). The filters come pre-installed, fyi.
What will be done is to intercept the cold water coming from the outside pipe so that it flows through the X16 and then out to the Smart Faucet, with the drain water going out into the drain pipe. It’s not a complicated procedure, which the average DIY can handle as long as one reads the instructions first and moves along at a relaxed pace.
Installation
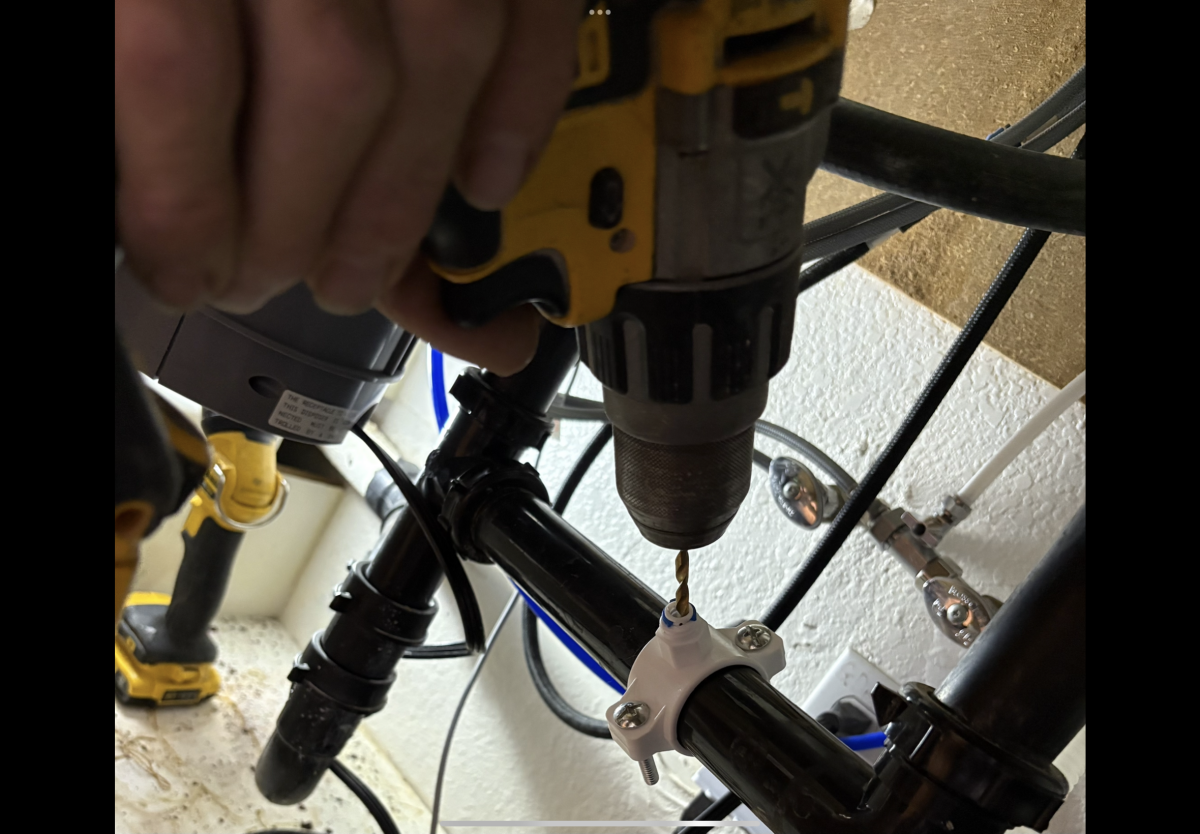
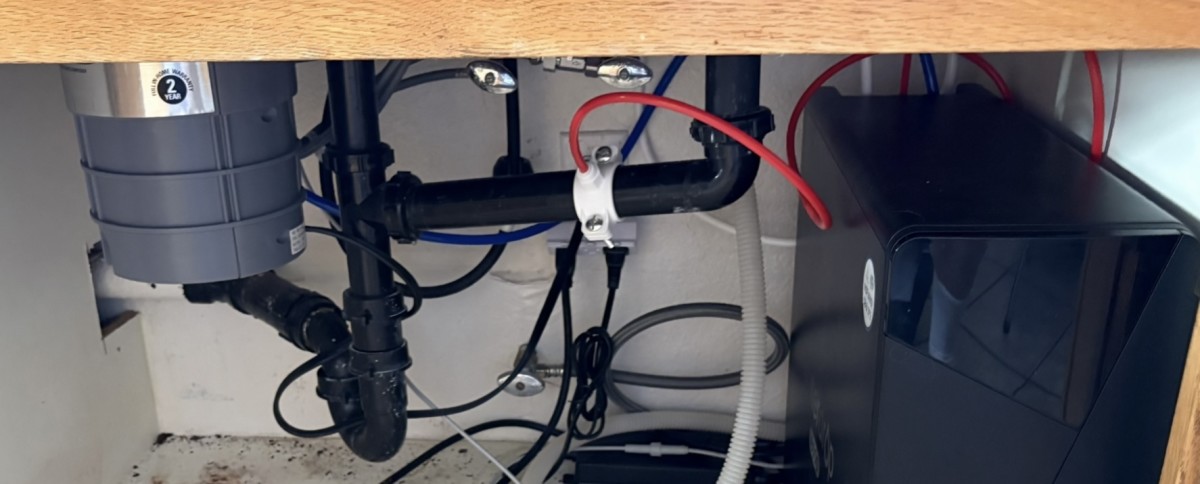
There are three tubes, with one permanently attached to the Smart Faucet which also has a power cord that attaches to the X16. Turning off the cold water tap, the feed water adapter is installed onto the cold water pipe. Then the Smart Faucet is installed into the hole on top and locked into position. A drain saddle with associated clips is then installed onto the vertical area of the drain pipe and locked into position, with a hole drilled so as to be able to install tubing. Be careful to not push the drill bit through the opposite side of the pipe! The inlet water, pure water and drain water tubes now go into their color coded slots at the top, clicking into position. The X16’s power plug is then inserted into the grounded electrical outlet and the cold water valve is turned back on. The X16 is now turned on and water flows for 35 minutes as a countdown is noted on the Smart Faucet. The water flow can be stopped once the counter reaches zero and you’re good to go. We had estimated it would take us about an hour and it turned out to take just about that long.
Drink Up
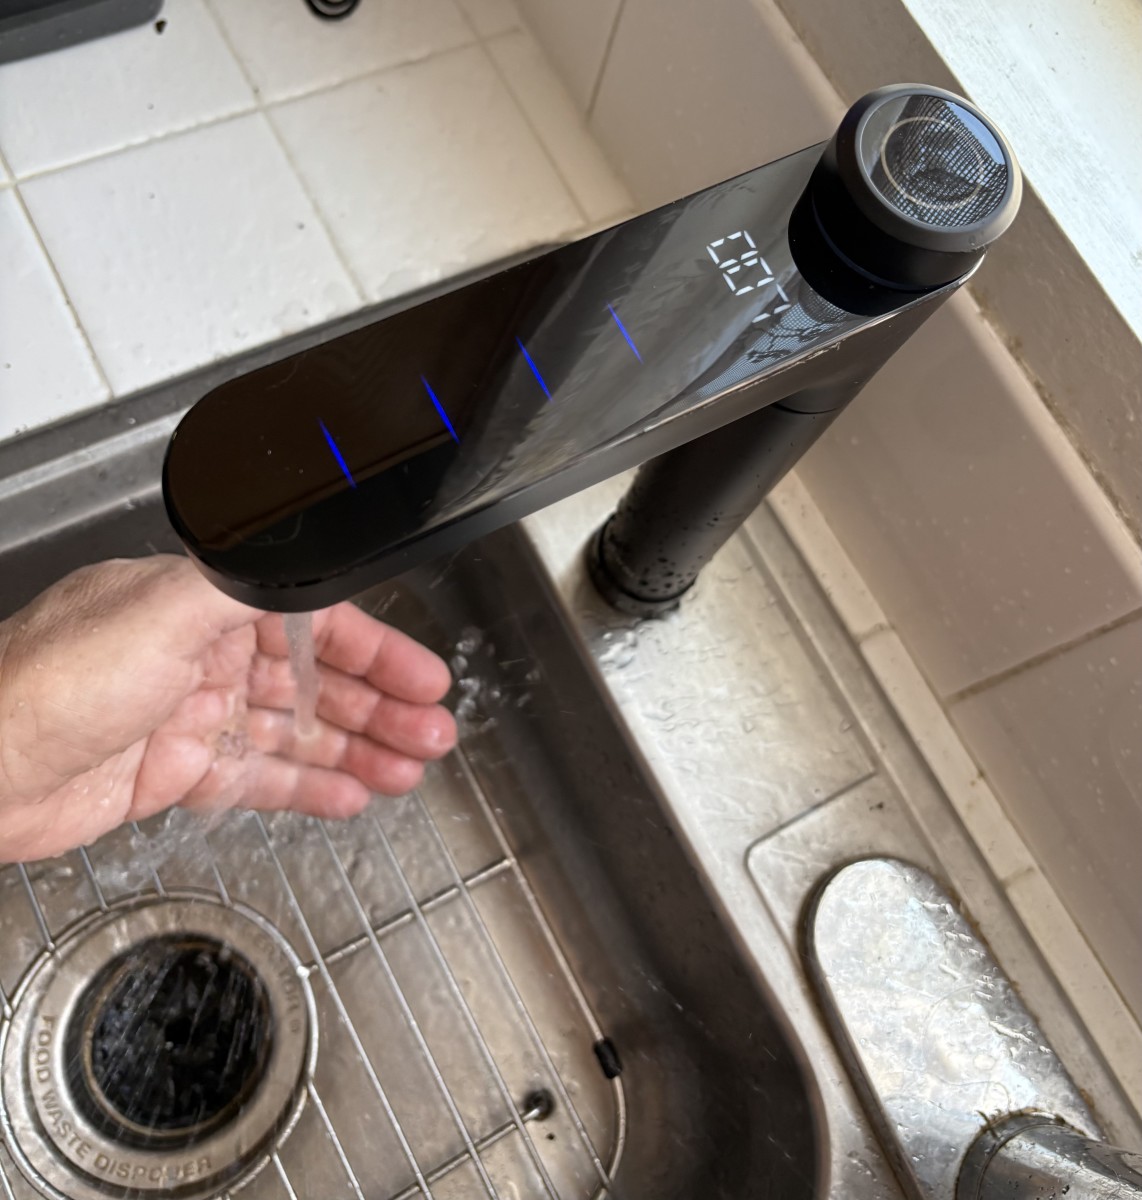
So now what’s the story with that Smart Faucet. First it makes sense that it’s black since then the LED illuminations can be seen (they appear/disappear during/after use). The knob rotates and displays how much water can be dispensed, going from 5 to 64 oz, with 999 giving a 30 minute continuous flow (we keep it at 6 oz as that’s perfect for a cup of tea). A press of the faucet’s knob causes the water to dispense. If desired water will flow/stop manually through pressing the knob. You do have to get used to angling the cup/glass beneath the Smart Faucet as the water spurts a bit to start. And the existing faucet can continue to be used for hot water, etc.
Besides showing the amount of water, TDS is also displayed as is a UV LED that signifies sterilization is taking place. And as a boon to one’s back, the life expectancy of all three filters (F1, F2, F3) is also displayed.
The Waterdrop X16 Reverse Osmosis Water Filtration System has an energy saving mode for quieter operation and does not require being turned on/off daily. For more details go to https://www.waterdropfilter.com/collections/undersink-ro-systems/products/undersink-reverse-osmosis-system-x16?ref=headermenu